With the new Widget Generator in your Giggle CMS, you can now create and customize experience widgets without any programming knowledge and embed them directly into your website. Manual code creation is still possible (see below), but from now on, everything can be done easily with just a few clicks.
🛠 How to create your widget code in the CMS
To create widgets, go to the main menu item "Share experiences" and select "Experience Widgets":
- Navigate to: CMS > Share experiences > Experience Widgets
- Now click on “Create widget.”
A new page will open where you can configure all the settings for your new widget code.
Widget code settings:
Select your streams
-
You can add multiple streams (reorder via drag & drop)
-
Optional: activate Chronological style
Widget name
- Give it an internal name like Homepage Highlights
Language selection
-
Choose all the languages you want to support
-
If multiple languages are selected, the system automatically generates separate codes with the correct
lang=parameter
Define the Widget ID
-
Mandatory and must be unique per page
-
Can be used as an anchor link (e.g.
homepage-highlights)
Additional options (optional)
-
Show date filter →
&showStartEndDate=true -
Open experiences in a new tab →
&experiencesNewTab=true
Adjust the design
-
Font: e.g.
Manrope,Roboto(must be exactly as installed on your website!) -
Stream title color: e.g.
3030EF -
Button color: e.g.
000000 -
Card size: S or L (default: L)
-
Theme: Bright (white,
whiteBackground=true) or Dark
Generate embed code
→ Click on “Embed Code” (a separate version is generated for each language)
Save changes
→ Click on “Save changes”
🧪 Alternatively: Create Widget Codes Manually
If you'd prefer to manually generate the HTML code (e.g. together with your developer), here's a summary of the relevant parameters:
🧷 Key Parameters
| Purpose | Parameter | Example Value |
|---|---|---|
| Stream selection | streams= |
streamID1,streamID2 |
| Widget ID | id= |
gt1 |
| Hotel path | path= |
mein-hotel |
| Language | lang= |
de, en, it |
| Font | font= |
Roboto |
| Title color | fontCol= |
000000 |
| Button color | btCol= |
FF0000 |
| White theme | whiteBackground=true |
|
| Small card version | smallVersion=true |
|
| Chronological streams | wpStreams= |
streamID1,streamID2 |
| Date filter | showStartEndDate=true |
|
| Open in new tab | experiencesNewTab=true |
- Basic code (including colors and font)
- Multiple streams in one code
- Streams in weekly program style
- Date filter
- Include multiple streams on one page, but not directly below each other
-
Integrate the experiences on your website with a white background
Tip: You want to customize the widget codes even more individually to your CI. No problem, you can use the CSS of your website to customize the widget codes even more. Learn more
🧩 Base Code – Your Starting Point
This is the basic code for your experiences, which you can easily adapt to your company:
<div id="gt1" style="display:block; width:100%;"></div>

<script viewport src="https://widget.giggle.tips/widget.js?id=gt1&path=trends&width=100%&fontCol=3030EF&btCol=3030EF&font=Manrope&lang=en&streams=2a0dbce6-bf12-4a42-ad58-7ebe0c8c8b98"></script>
Copy this code and adapt it to your operation:
<div id="gt1" style="display:block; width:100%;"></div>
<script viewport src="https://widget.giggle.tips/widget.js?id=gt1&path=trends&width=100%&fontCol=3030EF&btCol=3030EF&font=Manrope&lang=en&streams=2a0dbce6-bf12-4a42-ad58-7ebe0c8c8b98"></script>
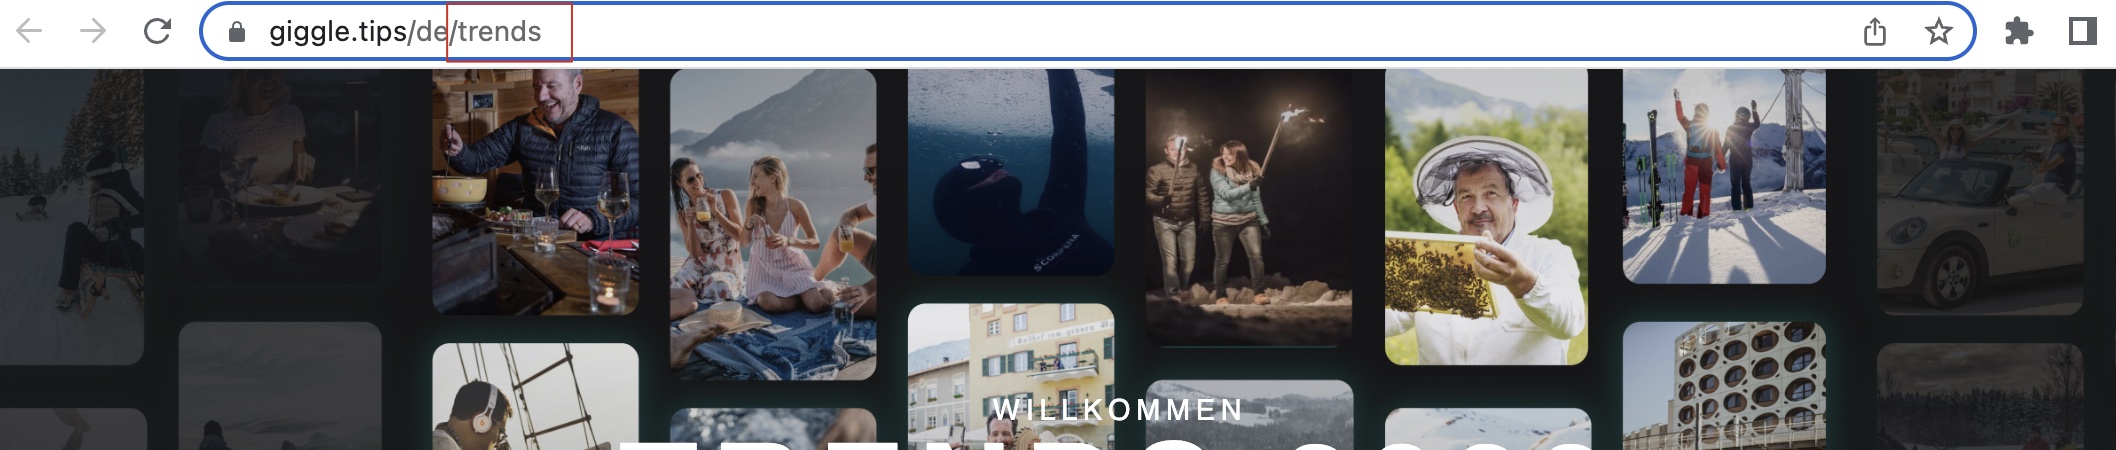
- First you need to change the "path". To do this, open your "WebApp" via the CMS by clicking on "View my Giggle App" and then copy the last part of the URL (everything after the last slash). Usually this is your hotel name. In our case it says "trends". Then you paste it in the code directly after "path=" (see the example code above).

- In the next step you can change the font color of the stream title and the color of the buttons.
fontCol= stands for the font color
btCol= stands for the button color
After "=" you simply insert the desired hex color code. This consists of a combination of 6 letters/numbers.
In our case, the color code #3030EF is stored in both cases (see the example code above). Please remember to omit the # character in the code. .
. 
- Of course you can also adjust the font.
font= stands for the font
So behind "font=" you specify the font that should be used. This should always be one of the fonts that are embedded on your website, because only then our widget can access this font, if e.g. the widgets are implemented on your website. So pay attention to the exact spelling here:
In our case, this is the "Manrope" font (see in the sample code above). - The language can also be easily customized:
lang= stands for the language
"en" stands for English, "de" stands for German, "it" stands for Italian etc.
You can display the streams in all the languages that you also have on file for translation. If the stream you want to embed should be in English, then the code should be: lang=en - The next step is to include the streams you would like to embed via the widget code, e.g. on your website.
streams= stands for the desired streams
After "streams=" you simply insert the ID of the desired stream. To do this, go to the CMS under "Streams". Here you can copy the ID for each stream and then paste it into the code after "streams=".
➕ Display Multiple Streams in One Code
To display multiple streams directly below each other, for example on your experience subpage on your website, line up all the IDs of the desired streams one after the other separated only by a comma:
<div id="gt1" style="display:block; width:100%;"></div>
<script viewport src="https://widget.giggle.tips/widget.js?id=gt1&path=trends&width=100%&fontCol=3030EF&btCol=3030EF&font=Manrope&lang=de&streams=2a0dbce6-bf12-4a42-ad58-7ebe0c8c8b98,b86470d7-9a58-4917-b8ef-e5334aecd9b3,b80691b9-0f2a-4cd6-aff1-766df40e240e"></script>
📅 Weekly Program Style Streams
You can display each stream in weekly program style, for example, because you want to have a separate stream for the children's program or you want to display the events separately. Streams displayed in the weekly program style show only experiences with date and time. This means that just like in the "normal" weekly program stream, the experiences are then also sorted chronologically by date.
To display streams in weekly program style, you have to add "&wpStreams=" in addition to "streams=". All IDs of the streams you want to display in weekly program style, you then add again after "&wpStreams=". This will look like this:
<div id="gt1" style="display:block; width:100%;"></div>
<script viewport src="https://widget.giggle.tips/widget.js?id=gt1&path=trends&width=100%&fontCol=3030EF&btCol=3030EF&font=Manrope&lang=en&streams=b86470d7-9a58-4917-b8ef-e5334aecd9b3&wpStreams=b86470d7-9a58-4917-b8ef-e5334aecd9b3"></script>

📆 Activate Date Filter
You can also add a category and/or date filter to your streams. To do so, simply add one or both of the following code snippets to your code:
&showStartEndDate=true
It will look like this:
<div id="gt1" style="display:block; width:100%;"></div>
<script viewport src="https://widget.giggle.tips/widget.js?id=gt1&path=trends&width=100%&fontCol=3030EF&btCol=3030EF&font=Manrope&lang=de&streams=b86470d7-9a58-4917-b8ef-e5334aecd9b3&wpStreams=b86470d7-9a58-4917-b8ef-e5334aecd9b3&showStartEndDate=true"></script>

🧱 Embed Multiple Streams on One Page (in Separate Locations)
If you want to embed multiple streams on one page, but in different places, then you need a different widget code for the experience streams:
<div id="gt1" style="display:block; width:100%"></div>
<script viewport src="https://widget.giggle.tips/widget.js?id=gt1&path=trends&width=100%&fontCol=3030EF&btCol=3030EF&font=Manrope&lang=de&streams=b86470d7-9a58-4917-b8ef-e5334aecd9b3"></script>
<div id="gt2" style="display:block; width:100%"></div>
<script viewport src="https://widget.giggle.tips/widget.js?id=gt2&path=trends&width=100%&fontCol=3030EF&btCol=3030EF&font=Manrope&lang=de&streams=b80691b9-0f2a-4cd6-aff1-766df40e240e"></script>
In this case the ID of the code ("gt1", "gt2" etc.) and the source link, which must also be provided with the appropriate extension ("gt1", "gt2" etc.), change, see above in the code in bold.
⚪ Display Pop-ups with White Background
To display the experience pop-ups on your website with a white background, add the following code snippet to your code:
&whiteBackground=true
<div id="gt1" style="display:block; width:100%;"></div>
<script viewport src="https://widget.giggle.tips/widget.js?id=gt1&path=trends&width=100%&fontCol=3030EF&btCol=3030EF&font=Manrope&lang=de&streams=2a0dbce6-bf12-4a42-ad58-7ebe0c8c8b98&whiteBackground=true"></script>
🎨 Customize Widget Design via CSS
For advanced design customizations (e.g. font sizes, spacing, colors), you can adjust the widget codes via your website’s CSS.
👉 Customize your widget design via CSS
✅ Conclusion
You now have two options:
Quick & easy: Use the Widget Generator in the CMS
→ Ideal for anyone who doesn’t want to write HTML manually
Flexible & customizable: Generate and edit the code manually
→ Perfect for developers or web agencies who want full control
📩 Need help creating or integrating your codes?
Our support team is happy to assist: hello@giggle.tips